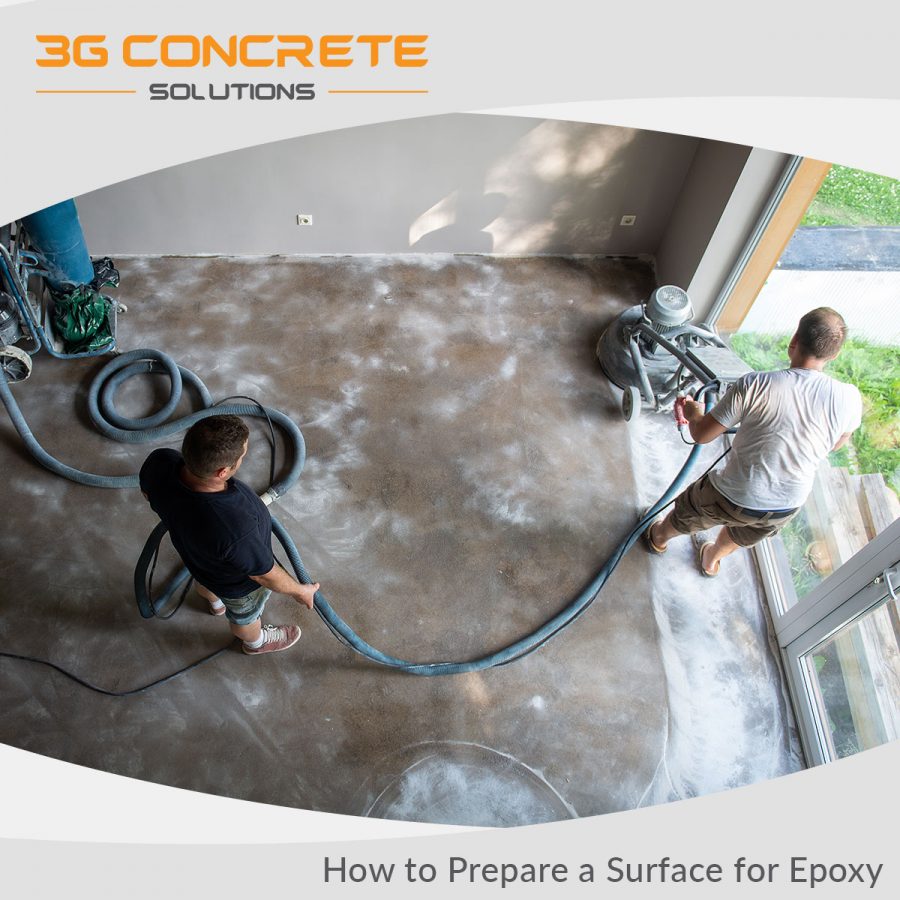
Thorough substrate preparation ensures a uniform surface for maximum adhesion and longevity of coatings and finishes on epoxy flooring.
Ensure the longevity of your flooring by learning about the steps and materials needed for optimal epoxy adhesion.
What is Substrate Preparation?
Substrate preparation is the process of getting the surface to which epoxy flooring will be applied ready. This includes cleaning, drying, and sanding the surface.
To ensure the epoxy primer sticks securely to the substrate, the former must have a slightly rough surface; this helps with effective adhesion and ensures successful mechanical bonding.
In addition, it’s necessary to make sure the base is free of any oils or dust that could interfere with the adhesion. Cleaning the surface helps ensure a secure binding.
Why Substrate Preparation is Important
Getting the surface ready is paramount for any epoxy flooring job. If you do it correctly, your epoxy coating will be long-lasting and even across the entire surface. If the substrate is not prepped well, epoxy won’t stay in place securely and could peel easily. Thus, substrate preparation is a key step in ensuring the longevity and quality of your flooring.
List of Materials Needed
The following tools and materials are essential for your project:
- Vacuums and Hoses
- Light floor sander or grinder
- Protective masks or respirators
- Safety Goggles
Steps for Surface Preparation
It involves a series of steps that need to be followed in order to ensure that the surface is ready for the application of epoxy.
Cleaning
When applying epoxy coatings, it is essential to take the necessary steps to make sure that all surfaces are clean & devoid of dust and dirt. Cleaning of contaminated surfaces can be done with the help of solvents like lacquer thinner, acetone, or any other suitable option.
Drying
To ensure strong epoxy bonds, it’s best to work with surfaces that are completely dry. For faster drying, you can use a hair dryer or a hot air gun.
Inspection for Defects
Following that, it’s time to inspect for any damages before you begin the installation process. This includes checking for cracks, chips, holes, and other damage that could affect the quality of your epoxy flooring.
Sanding
Sanding is most commonly done using a floor sander, usually when the surface is in fairly good condition and just requires some light cleaning and smoothing. This process gets rid of dirt, debris, and other small surface irregularities that can interfere with the adhesion of the epoxy.
How 3G Concrete Solutions Can Help with Epoxy Flooring
For professionally done epoxy flooring, 3G Concrete Solutions is your go-to option. We understand the importance of thorough surface preparation and its impact on the success of an epoxy flooring project. Our team of experts is highly trained and experienced in preparing surfaces for epoxy flooring, ensuring optimal adhesion and a uniform and durable finish.
We utilize the most advanced techniques and quality materials to meticulously clean and inspect for any defects in the surface before we apply epoxy. This ensures that the bond between the epoxy and the surface will be secure and able to withstand years of use!
3G Concrete Solutions is located in Orange County, California. It specializes in different types of concrete services including: Epoxy flooring, Stamped Overlay, Concrete Staining, Concrete Resurfacing, Water Proofing and concrete repair. We actively service Orange, Los Angeles, Riverside, San Bernardino, and San Diego County.


